Landscape photography is an incredibly fertile genre, enabling photographers to get into the great outdoors with their cameras and flex their creative juices on all manner of subjects, but none more majestic than rushing waterfalls in a forest.
The great news is that you can take fantastic landscape shots with basic equipment, such as a DSLR or mirrorless camera with a kit lens, sturdy tripod and a few filters. However, while forest scenes with rushing waterfalls can look impressive to the naked eye, it can be difficult to do them justice on camera.
• Get a head start with the best cameras for landscape photography
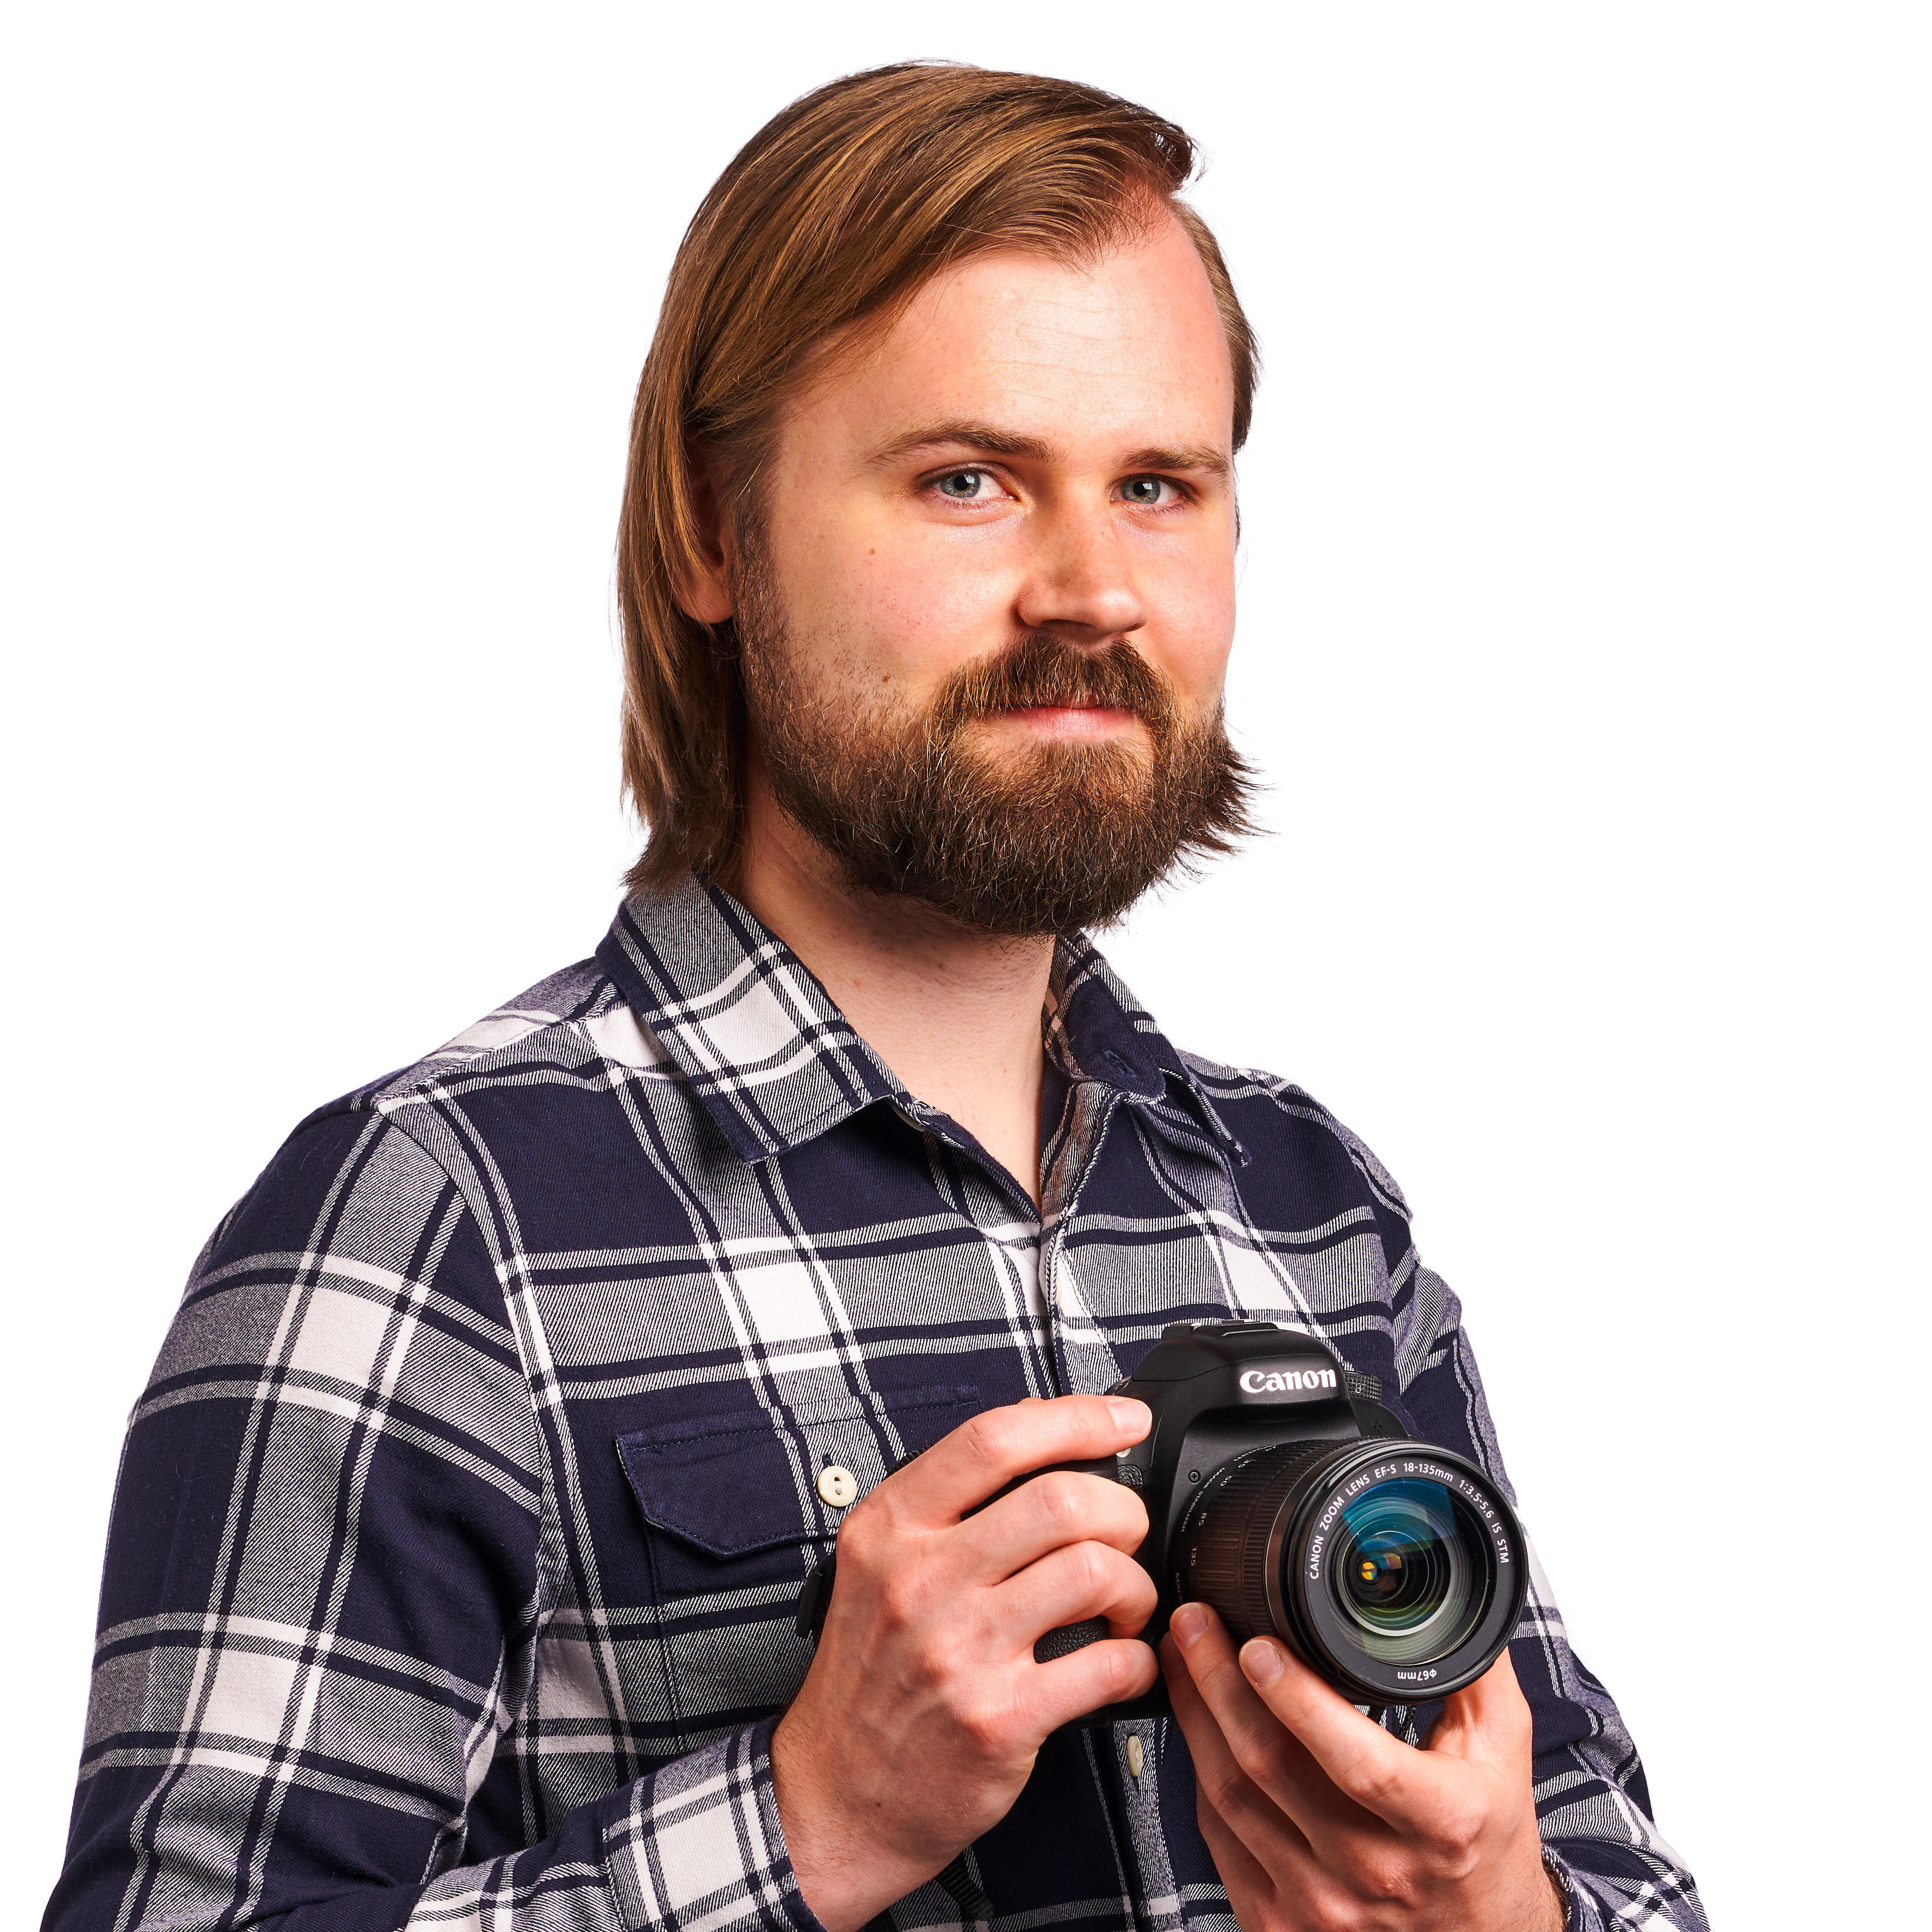
That's why this month we teamed up with a reader of PhotoPlus: The Canon Magazine, Gemma Pepper, for a waterfalls masterclass with landscapes pro James Abbott at Wyming Brook – one of his favorite spots to photograph waterfalls in the UK’s stunning Peak District

James Abbott is a talented landscape photographer based in Cambridgeshire, although you’ll often find him exploring one of the UK’s many hills or mountains, shooting landscapes and teaching workshops. He’s also the author of The Digital Darkroom: The Definitive Guide to Photo Editing.
1. Aperture priority

To get started, James put Gemma’s camera into aperture priority mode and set an aperture of f/11. This tends to be the sweet spot for sharpness on many lenses, and will give a deep depth of field – perfect for landscapes. He also set the sensitivity to ISO100, which is the lowest native setting on many cameras (which will provide the best image quality). It also means that light sensitivity is at its lowest, so it's great for shooting longer exposures – ideal for slow shutter speed waterfall shots.
2. Use live view

When shooting waterfalls James suggested using live view; this is because you can still see your scene and autofocus, even when filters like a 10-stop ND are attached (DSLR's optical viewfinders aren't so friendly in this respect!). He also likes switching on the histogram so he can make sure that no tones have been clipped, as well as enabling the electronic level so he can make sure his landscapes are completely straight. Lastly he switches on the rule of thirds overlay, which will help you achieve better compositions by placing points of interest on the intersecting grid lines.
3. L-bracket

Landscapes often work better in the portrait orientation, though tilting your camera sideways on a tripod usually leads to it being unbalanced and difficult to compose with. The solution is an L-bracket! These attach to your camera and tripod head and enable you to switch between shooting vertically or horizontally with ease, using the Arca-Swiss mount on both sides. It also means that the weight of the camera and lens remains centrally above the tripod, so it’s much better balanced.
• Check out the best L-bracket for your camera
4. Full-frame camera body

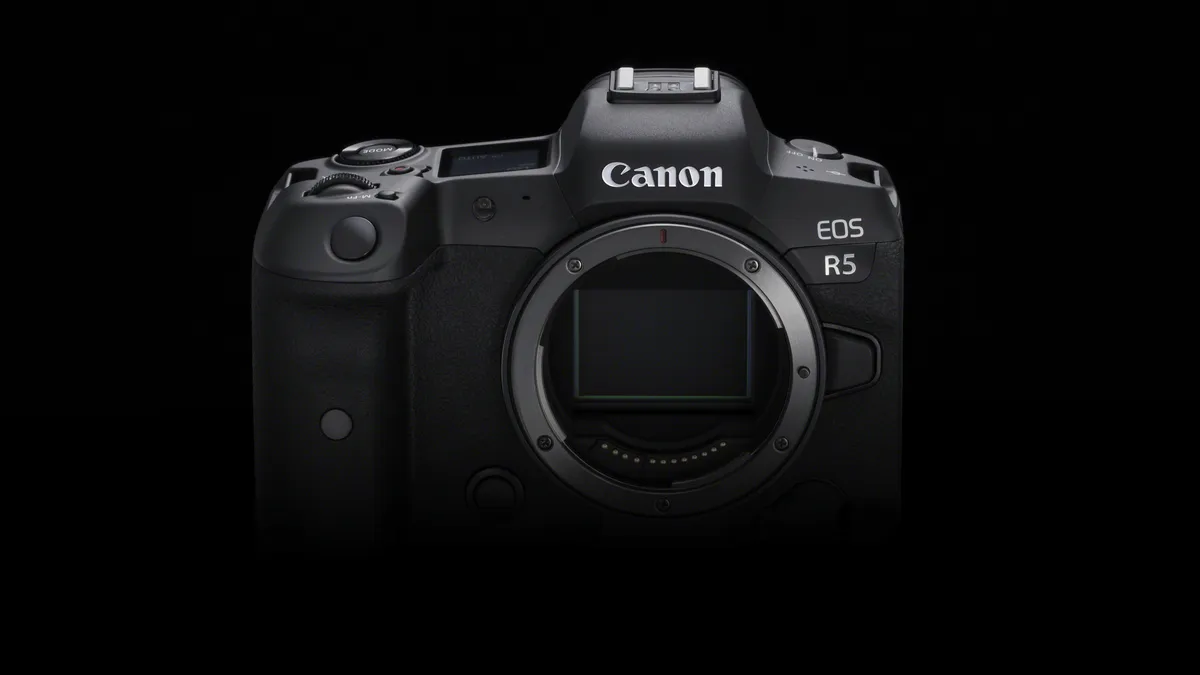
James uses a Canon EOS R5, which has a 45MP full-frame sensor with in-body image stabilization. As you’d expect from a professional camera it has great weather sealing, making it ideal for working near water or shooting landscapes on rainy days.
5. Polarizer filter

A circular polarizing filter is essential for landscape photography as its effect is difficult to replicate in software. By cutting out polarized light they allow slightly longer exposures but also have the added benefit of reducing glare and reflections on water or even glass in buildings. They can also be used in landscapes to boost the blues in skies to add contrast. ‘Circular’ doesn’t refer to their shape, it’s actually a reference to the circular etched pattern on the glass.
• Take a look at the best polarizing filters
6. Neutral density filters

While much can be achieved in editing software, there are some key filters that are very difficult to replicate in post. James uses neutral density (ND) filters that come in various strengths of shade to block out light for longer exposures. He also uses Graduated Neutral Density (GND) filters that are dark at one end and clear on the other – these are great for taming bright skies for a more even exposure. Plus he uses a polarizer to cut out polarized light and reduce glare on the surface of the water.
7. Strong and sturdy tripod

James uses a Vanguard Veo 263CB, which is a full-size professional tripod. It’s also carbon fiber, so is lightweight and ideal for carrying on long hikes. James uses a ball head to compose and lock off quickly. It’s also capable of handling up to 15kg of equipment, easily more than enough for the camera, lenses and filters he uses. After using his tripods in streams he makes sure to rinse them off with tap water and give them a good clean. This is particularly important at the coast, where saltwater can corrode tripods.
• These are the best carbon fiber tripods
8. Bulb mode

Many cameras can only shoot for a maximum of 30 secs, even in manual mode. Landscape photographers will often need to shoot exposures longer than this, particularly when using ND filters, so the solution is to use Bulb mode. In Bulb the shutter stays open for as long as the shutter button is depressed, and finishes when it is released again. A shutter release cable helps you lock it down for several minutes at a time without physically touching the shutter, and an app such as the NiSi ND Calculator or Lee Stopper Exposure Guide can help you work out the correct timings you need.
9. Wide-angle lens

For ultra-wide vistas, James uses the Canon RF 14-35mm f/4L IS USM. As an L-series lens it’s one of Canon’s top-flight optics, and incorporates weather sealing. It also has a zoom ranging from ultra-wide 14mm to standard wide-angle at 35mm, and everything in-between with minimal distortion. The wide f/4 aperture through the zoom range is also handy for low light scenes, while the Image Stabilization makes it a good option to use when handholding.
• See the best wide-angle lenses for your camera
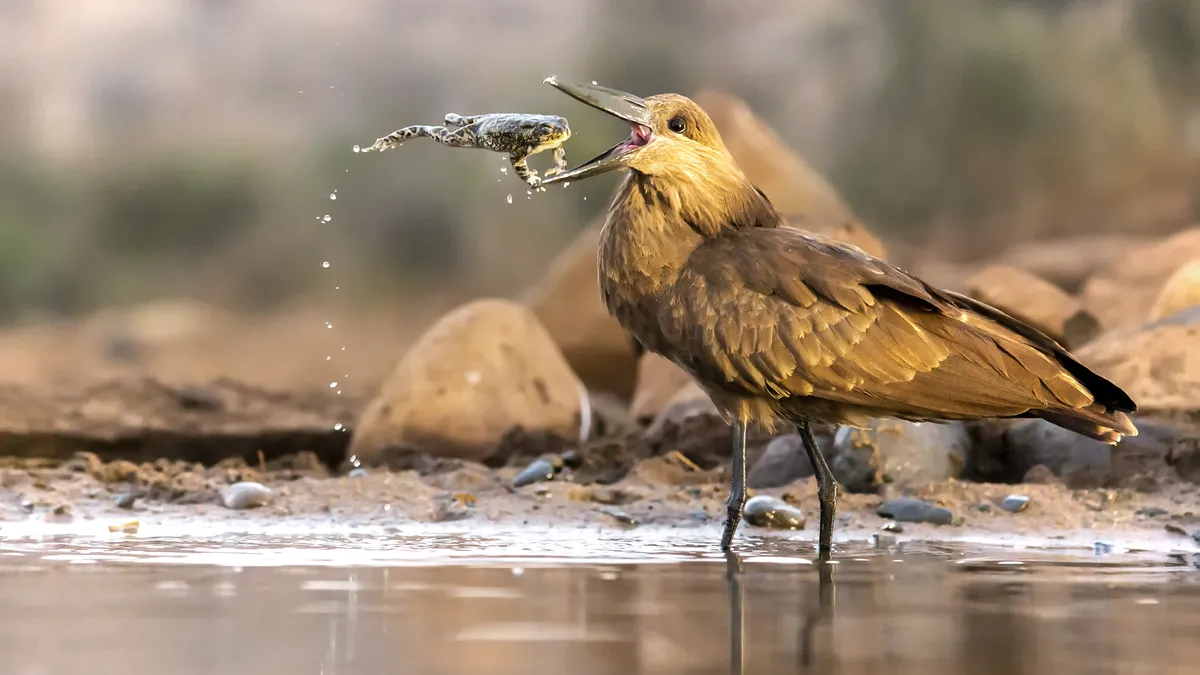
10. Telephoto lens

While wide-angle lenses go hand-in-hand with large landscapes, telephoto optics are also favored by pros as they enable you to zoom in and pick out details. James uses a Canon EF 70-200mm f/2.8L IS USM, which gives him the extra reach he needs for some scenarios. It’s also worth having a telephoto lens to hand when shooting landscapes in case you come across any interesting wildlife, such as birds or squirrels, that will require a longer focal length.
If you're really into landscape photography, you'll want to check out the best lenses for landscapes and take a look at our landscape photography tips.