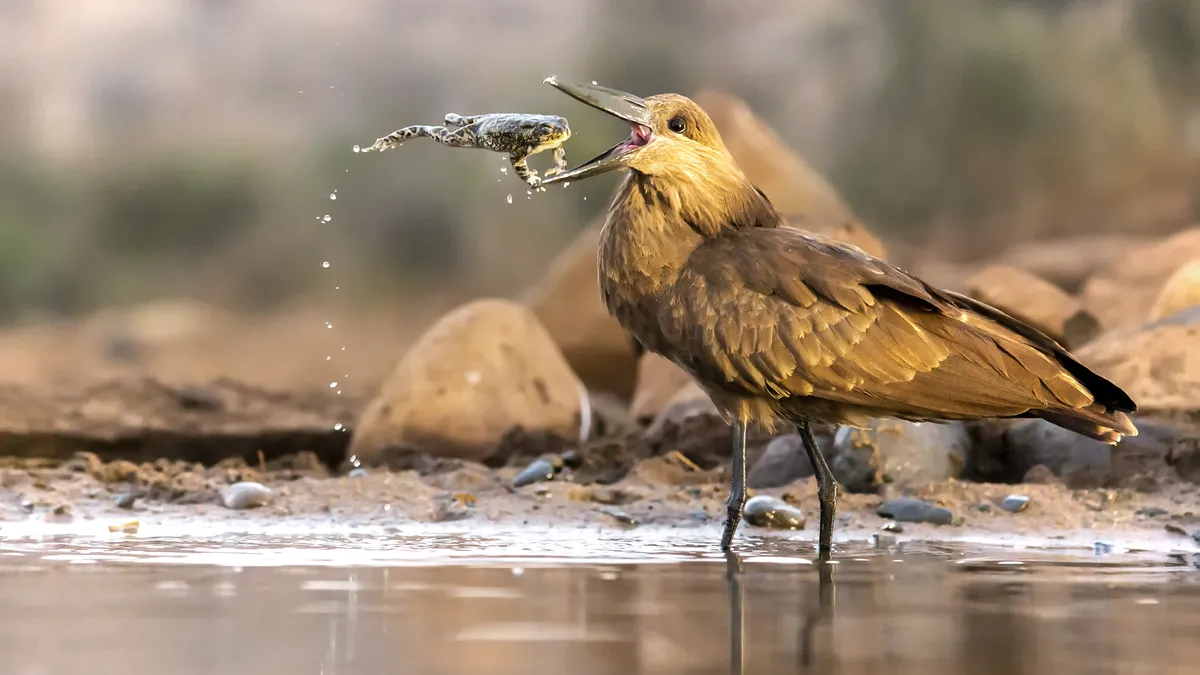
Shutter speed is an essential tool that can be used to capture motion in different ways. As a subject, water is often recorded as a blurry entity with long exposures to convey an idea of movement. But why not think outside the box and focus on the detail of its flowing characteristics instead?
A fast shutter speed enables you to freeze the movement of the water with impressive and varied results. With the right composition and focus, you can also achieve an abstract result that emphasizes the graphic elements. To push the abstraction further, work out lines and shapes by reducing colors and boosting contrast in post-processing.
• Still have questions? Check our Cheat Sheet: What is shutter speed?
Switching the camera to manual mode gives you full control, but it’s harder to focus clearly on the composition and shoot actively without worrying about the technical settings. Thankfully, camera technology is ahead of the game and can automatically adjust the settings to suit a variety of situations.
This is where the shutter speed priority mode is a good solution. It gives you the option of setting the desired shutter speed and automatically adjusting the aperture settings. Depending on the lighting, it is advisable to adjust the ISO settings as well. Here, cameras with higher ISO values can deliver excellent performance, as they reduce image noise.
Before and after


Shooting steps

1. Select shutter priority mode
Set your camera to shutter priority, usually signified by an S on the dial or Tv ("Time value") on Canon cameras. A shutter speed of approximately 1/250 sec is often good for freezing the movement of water without risking underexposure due to the short exposure times.

2) Raise your ISO
Setting a faster shutter speed means that the camera now has less time to get light onto the sensor, so it requires more light to enter. Try adjusting the ISO settings, paying attention to the automatic adjustment of the aperture to control the depth of field.
Check out our What is ISO? and What is depth of field? explainers

3) Use continuous mode
Go into the settings and change the shooting mode to continuous / burst / drive. When releasing the shutter, the camera will produce a series of images. Movement is fast and a variety of photos is desirable, as even small variations can make all the difference.

4) The right focus
Keep movements in focus by selecting continuous autofocus mode (also called Servo on Canon cameras), which will detect the focus area accordingly. Even if your subject is actively moving within the frame, this setting is the best automatic solution for sharp results.

5) Create your composition
When composing your frame, remember that the less of the surroundings you include, the less the subject can be clearly identified. It’s a simple trick that enables you to focus on the details and incorporate an element of abstraction.
6. Check results

6) Check the results!
After you have captured the subject, review your results on the camera’s LCD viewfinder, specifically checking that the desired elements are completely in focus. Use the loupe tool and zoom in on selected parts of the image to make sure.
Take a look at the best cameras for landscapes along with the best lenses for landscape photography.